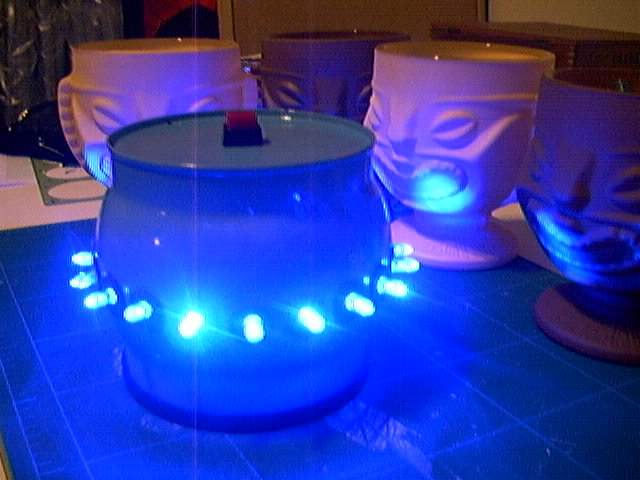
UFO LED Lamp
Before you ask: no, it doesn't make a cool flying saucer noise.
Not long ago, I ran across an insightful page on the web that said you could use Christmas lights as a source of cheap LEDs, so I waited until early January and hit the local Target store, where I scored a couple strings of 60 blue LEDs for $6.00 each.
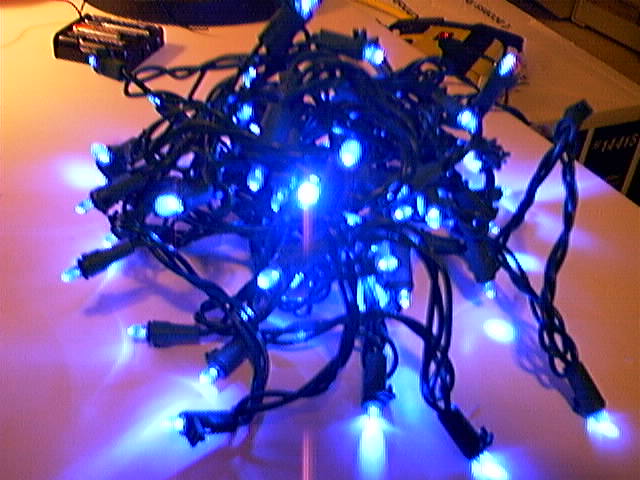
Click to embiggen
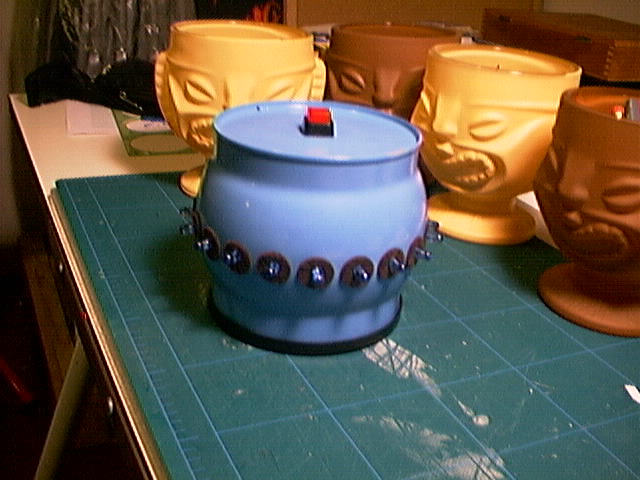
About the same time, I picked up some delicious ginger spice cookies from Trader Joes. I thought the can had an interesting shape, so I decided to save it for a project. Also, the dalek left me with some spare blue spray paint.
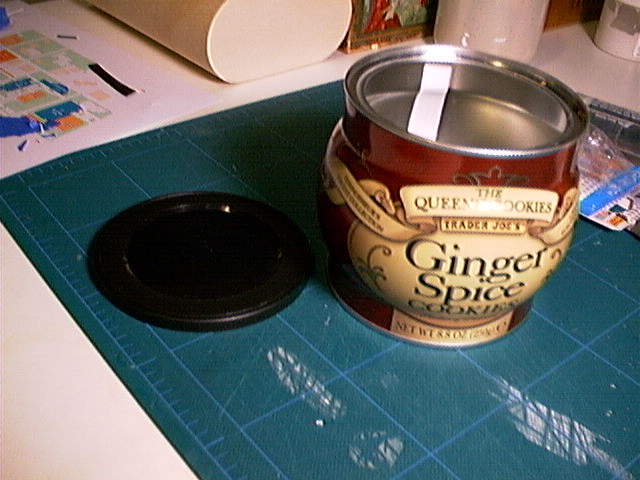
Click to embiggen
The project practically suggested itself: a flying-saucer or UFO lamp.
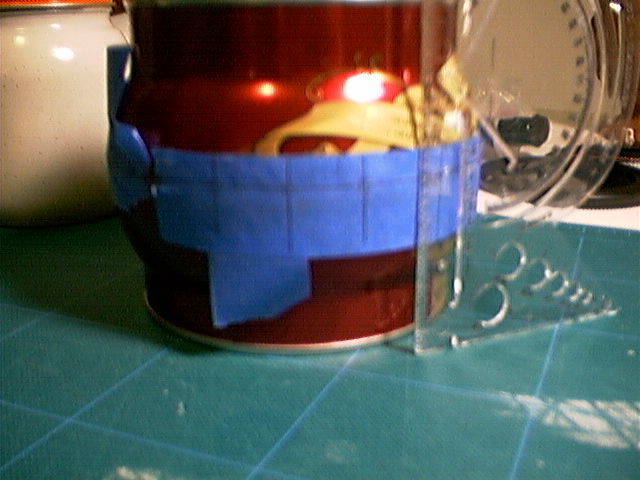
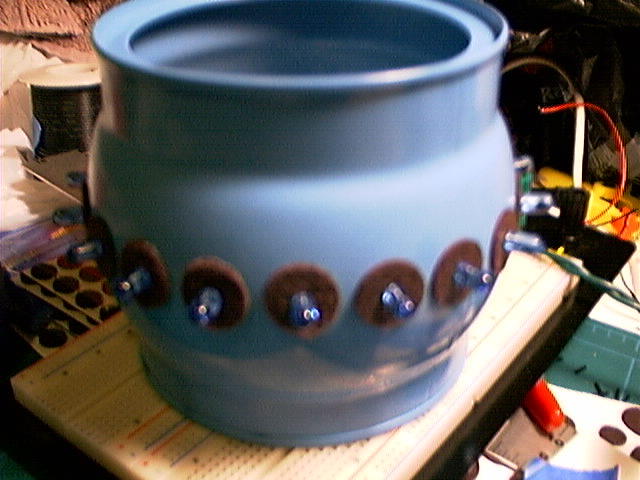
I started by wrapping some painter's tape around the widest part of the can, then I pulled the tape off and marked out equally-spaced spots where I would drill holes to accept the LEDs. Then I carefully re-applied the tape, making sure the marks were all at the same height. Then, I drilled through the can at each marking. I ended up with 19 holes for 19 LEDs.
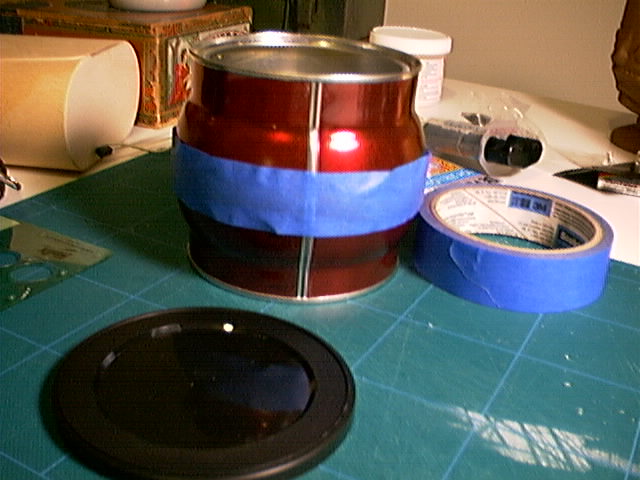
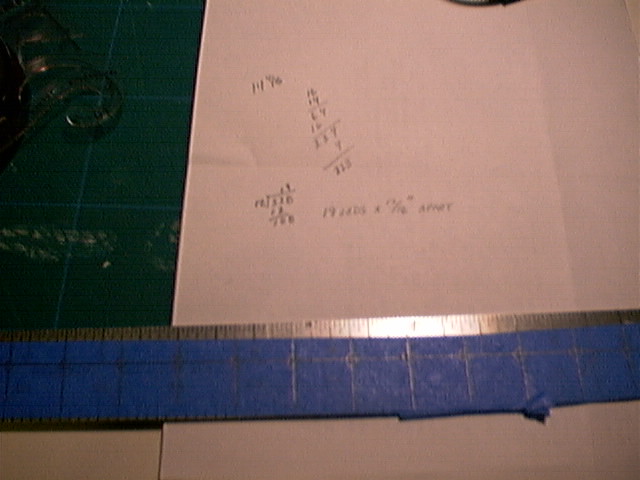
Click to embiggen
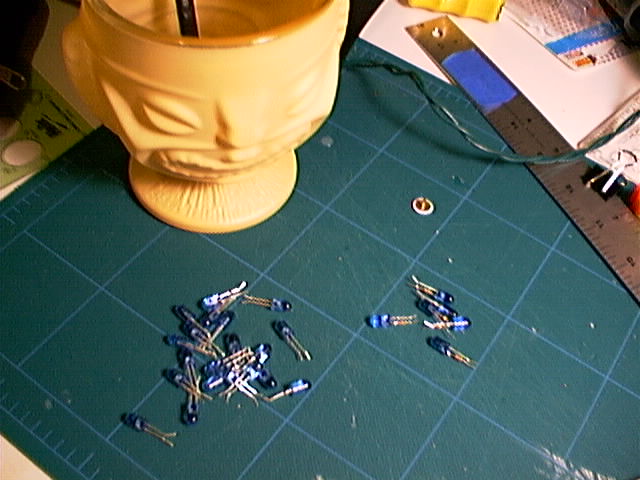
Next it was time to pull a bunch of LEDs out of the string of lights. Luckily, just unplugging the sockets and unbending the leads allowed them to be removed with no hassle. Some of the LEDs had resistors on them; some didn't. I'm not sure why. Rather than clipping off the resistors, I just pulled enough bulbs to get 19 that didn't have resistors. Tiki mug looks on while I separate the resistant LEDs from the others.

Click to embiggen
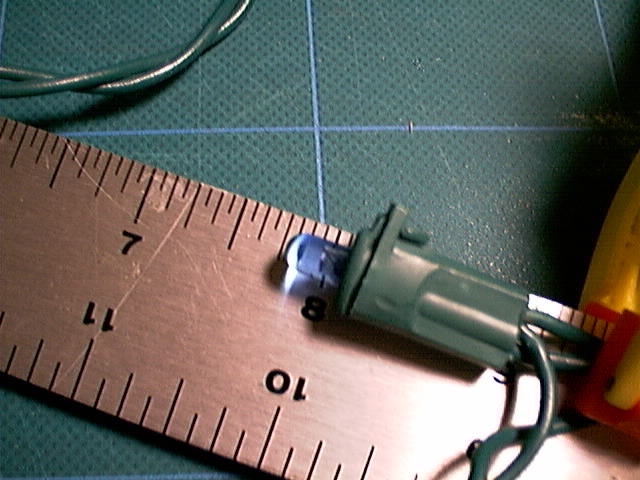
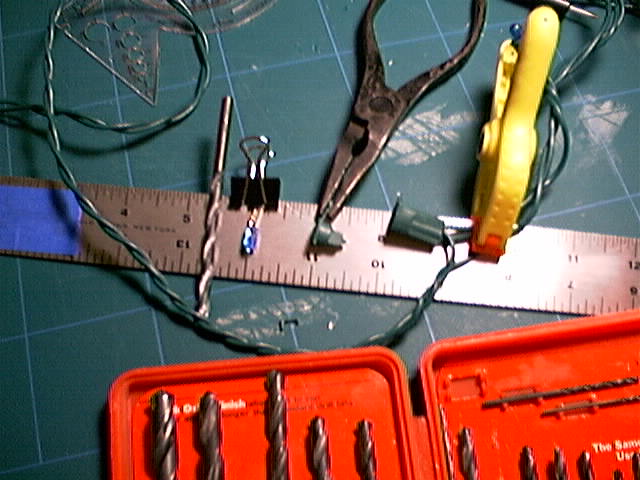
Bitter experience has taught me to test and retest components at every stage to make sure they work OK and that you won't blow them up by running too much electricity through them. Here are my LEDs powered by four AA batteries.
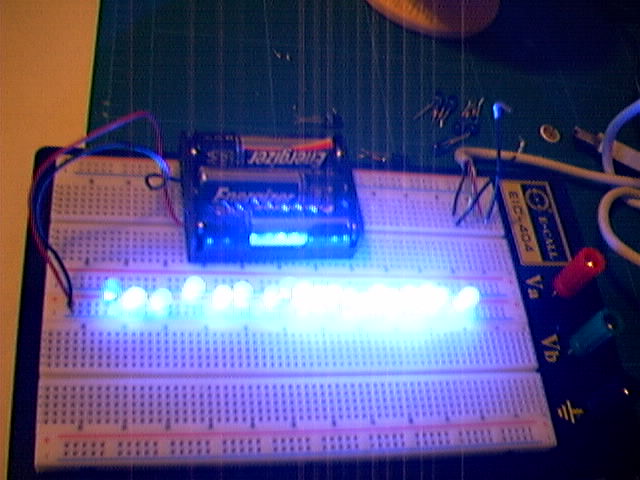
Click to embiggen
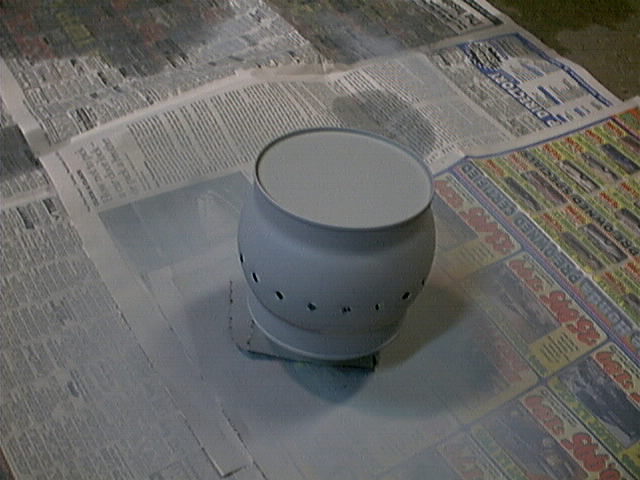
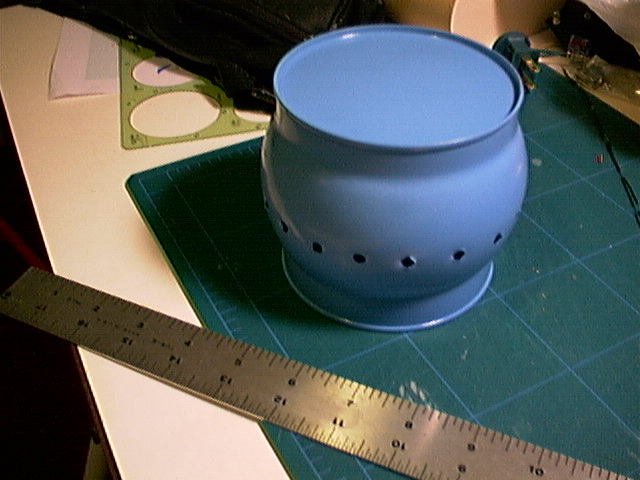
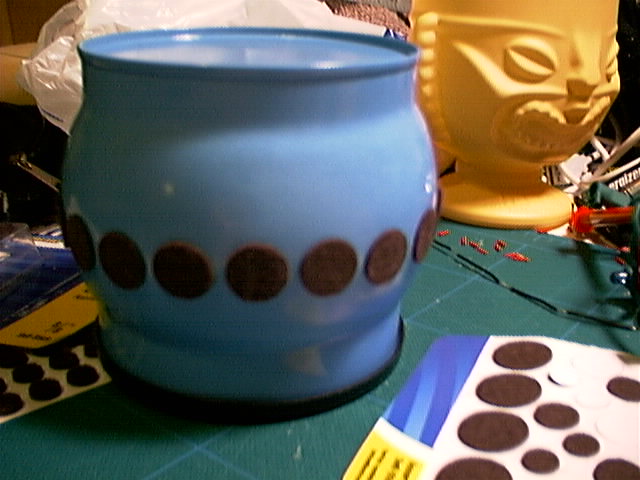
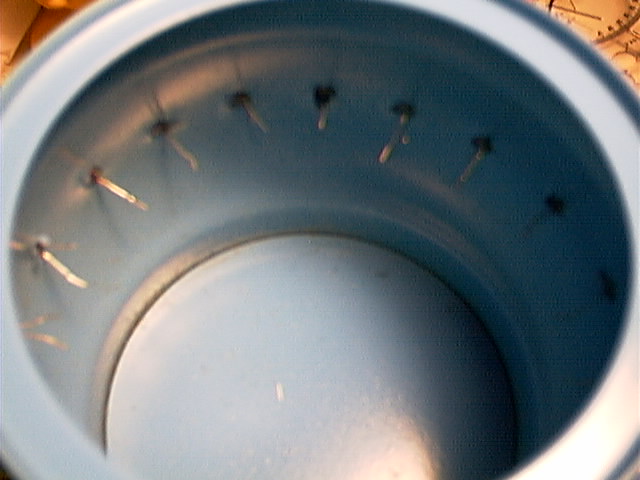
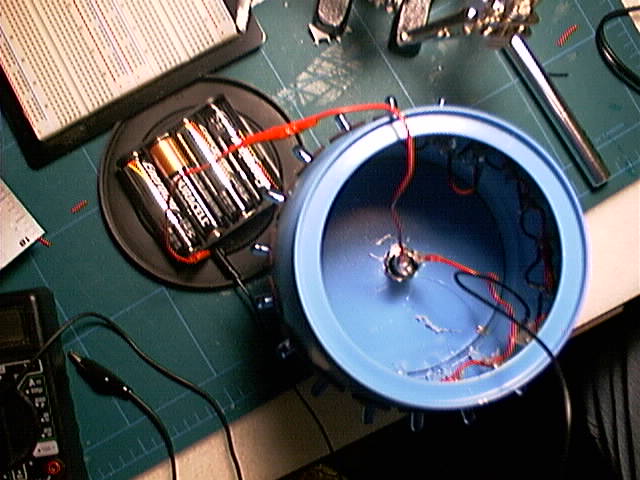
Next I primed and painted the can, which had been drilled. Then I covered the holes with felt pads. I slit each pad with an x-acto knife and pushed the LED leads through so that they would go to the inside of the can. Then I soldered the leads together.
Click to embiggen
Click to embiggen
It was more or less at this point that fatal flaw number one made itself obvious. The mouth of the can is not wide enough to easily get a soldering iron and hands inside. I overcame this fatal flaw with a pair of hemostats and a great deal of patience.
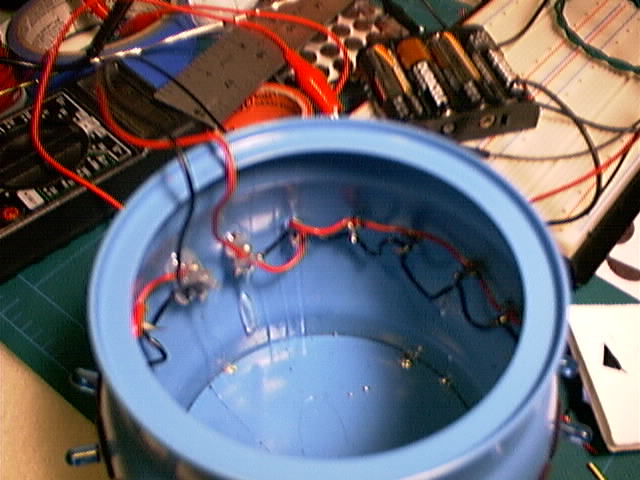
With deference to bitter experience, I tested the lamp once all the LEDs were wired up, and that's where I ran into fatal flaw number two. When you put uninsulated LED leads into an unsulated metal can, it tends to short out, meaning that nothing lights up.
Here I took a leap of faith. Without knowing for sure, I assumed that loading up each LED connection with hot glue gun glue would insulate the leads from the can and each other and prevent short circuits. If I was wrong, of course, I'd have a bunch of LEDs permanently glued into a useless configuration, so I was taking a chance. Luck prevailed, and the next test passed, so I moved on to the finishing touches.
Click to embiggen
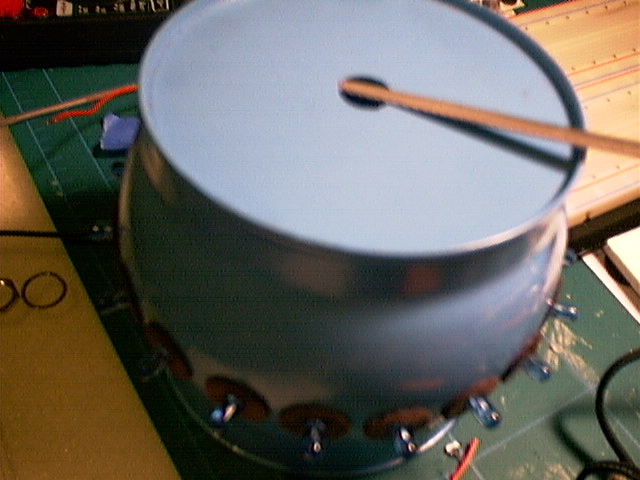
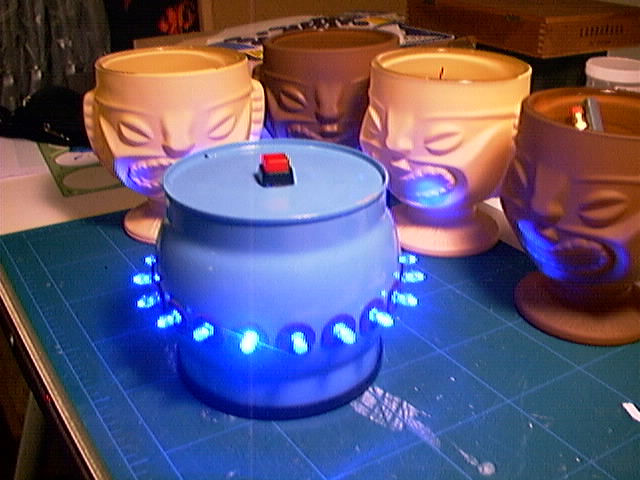
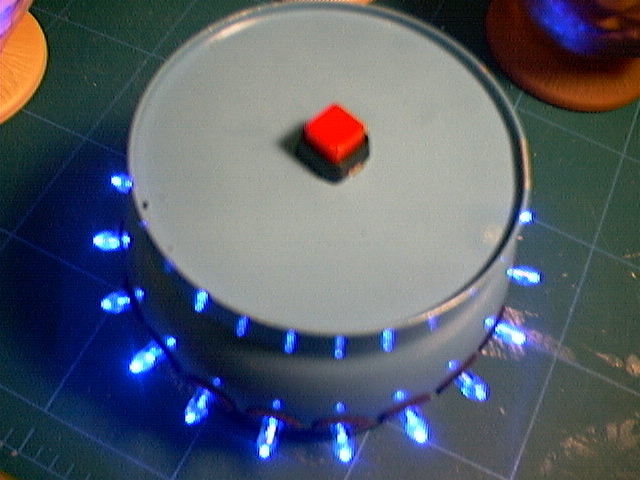
First I drilled a hole to accommodate the button switch in the bottom of the can. (The can would be inverted in the final configuration, making this the top of the lamp.) Of course, my biggest drill bit was about a sixteenth of an inch too small for the switch, so I had to file the hole to a larger size. Fatal flaw number three? A metal file plus an empty metal can is a great way to make a deafening noise!
Once the hole was big enough, I installed the switch and soldered it in. I connected up the batteries and glued them to the lid of the can. All done!
Click to embiggen
Click to embiggen
Click to embiggen
Click to embiggen

