AC Adaptor Install
Building a bracket and bolting it down.
(If you've jumped directly to this page from someplace on the Web, you might want to start reading on page 1, where I talk about the wiring and provide an important disclaimer.)
For stability, I wanted to have a solid bracket underneath the unit as well as bolts holding it into the back of the armrest. Unfortunately, the mounting points provided by the factory were of little help. They were pretty far apart, and the back of the armrest is curved, so the unit is mounted at sort of a tanget to the armrest, meaning that factory screwholes were pretty far from the armrest itself.
I started by cutting a bracket from a piece of angled aluminum and then drilling a couple holes at the ends to screw through.
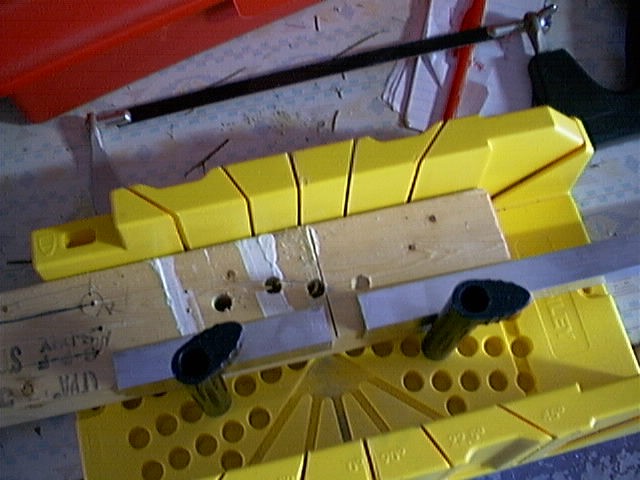
Click to embiggen
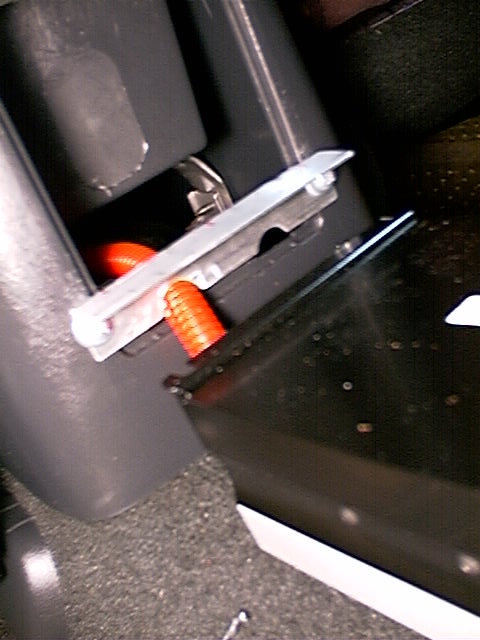
Next, I decided to grind out a notch where that the cable could run through, so that it would fit a little better. Unfortunately, I had marked the wrong side of the bracket and started notching where I oughtn't. That's where there is a small (aborted) notch followed by a symmetrically-positioned notch of the proper size. Measure twice and cut once, folks!
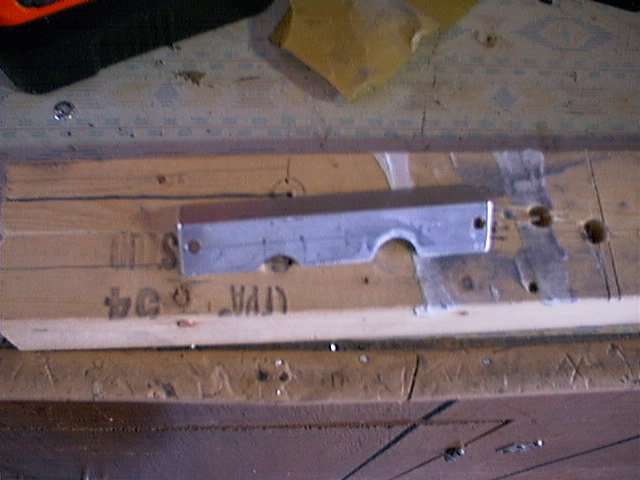
Click to embiggen
Then, I prepared to drill the holes in the console so that I could bolt on the bracket. The idea was to have the adaptor rest on top of this bracket so that it would bear the force of pushing a plug down into the adaptor.
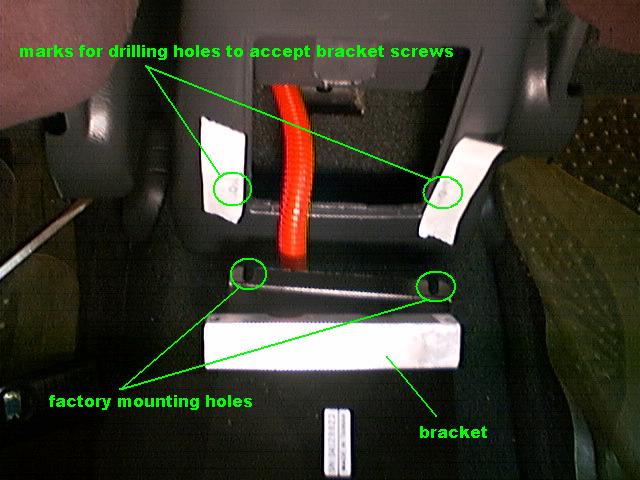
Click to embiggen
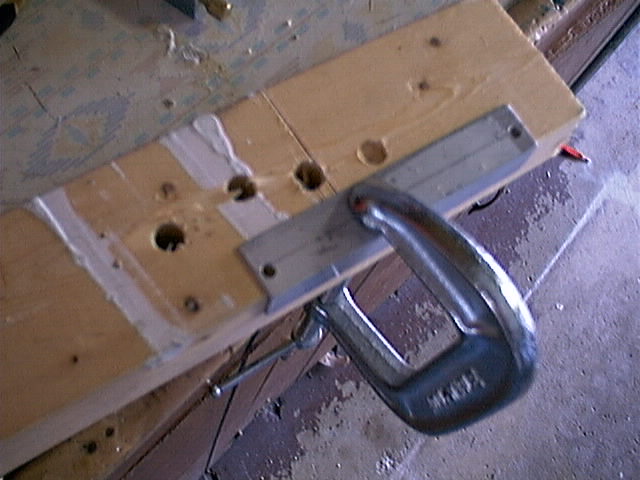
I drilled the holes marked on the masking tape in the photo above, then used nuts and bolts to fasten the bracket to the console. Although it's hard to see in the following picture, the bracket is bolted in place and ready for the adaptor to sit upon it.
Click to embiggen
Now, as I said, the factory mounting holes are too far apart on the top mounting edge to hit the console, so I drilled a trio of new holes in the top edge and used self-sinking screws to fasten the top of the unit to the console.
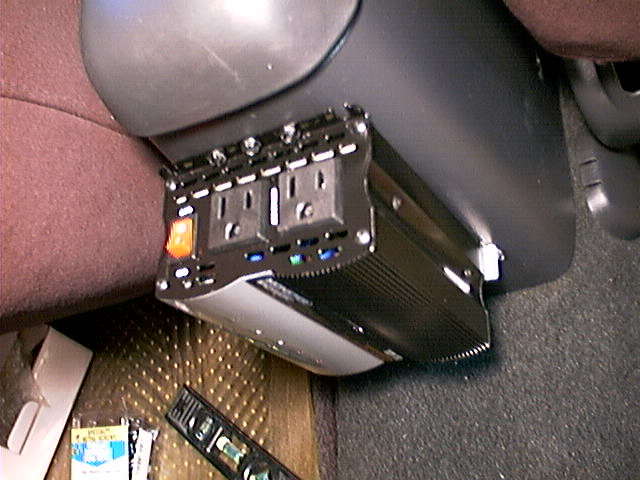
Click to embiggen
That's it! It works OK. I just have to put the plug in the cigarette lighter, turn on the switch, then it's ready to provide AC power. It took a lot longer to install than I thought it would, because there were a couple of surprises, but overall I'm satisfied with the result.

