Windshield Decal Application
Because the blue tint at the top was downright dorky.
This is not a HOWTO guide. It is a HOWI guide. In other words, it's not how to install your windshield decal. It's how I installed mine. I suggest not following these steps to apply your decals, but maybe you can learn some lessons from my mistakes!
Disclaimer: Like I said, this is what I did. If you have problems, you should consult an automotive professional, not my Web page. Please don't rely on this narrative in place of a qualified mechanic!
Background
My stock windshield cracked on Christmas Day, and as fate would have it, I ended up with a replacement that had that dorky blue tint across the top. Unsatisfied with the way it looked, I vowed to cover my shame. I decided to do it with a black vinyl decal from eDecals.
Factory Instructions
The decal came in a long, wide sheet, rolled up like wrapping paper. The instructions, quite sensibly, said to cut the vinyl to the desired size and tape it down along one edge, then fold it back like a hinge along the tape and peel off the paper backing. Finally, smooth the sticker down with the included plastic thing.
Unfortunately, this is not practical because of the long size of the sticker. Furthermore, the curvature of the windshield prevents effective hinging. My first attempt resulted in way too many bubbles and wrinkles. Luckily, they give you more than enough vinyl for two tries.
A Different Approach
How about rolling a narrow strip of vinyl across the top of the windshield?
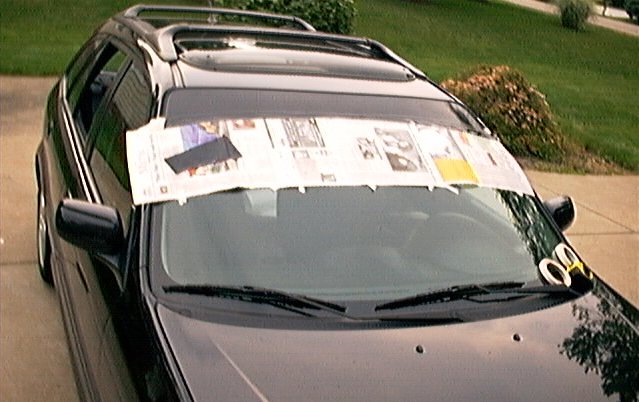
Since it would be impossible to line up a pre-cut strip on the window, I decided it would be best to mask off the portions of the windshield that would not get the decal, then roll a wide strip of vinyl on and trim away the excess. I used masking tape and newspaper to cover up the bodywork around the windshield and the parts of the windshield not to be covered.
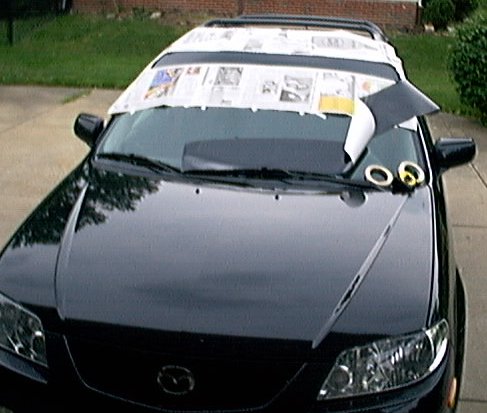
Click to embiggen
Stretching the decal straight across the window would result in the sticker being too low on the edges, due to the windshield's curve. Therefore, I made the mask lower in the center and higher at the edges.
Next, I rolled up a strip of decal so that the paper backing was on the outside. I peeled back part of the paper backing and stuck the decal to one edge of the windsheild, being sure that it completely covered the window and spilled out onto the masking material.
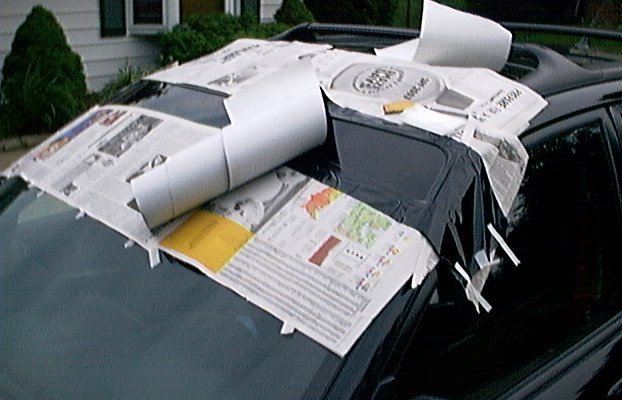
Click to embiggen
The good folks at eDecals send an applicator tool with their decals. It is a square of stiff plastic that you can use to scrape the decal onto a surface. I used this to adhere the sticker to the glass and work out any air bubbles that crept in.
I unrolled the sticker and peeled off the paper backing as I worked my way across the windshield. I was careful to avoid stretching the vinyl, and I had to stop every few inches to work the decal into the corner between the glass and the masking material.
Click to embiggen
Click to embiggen
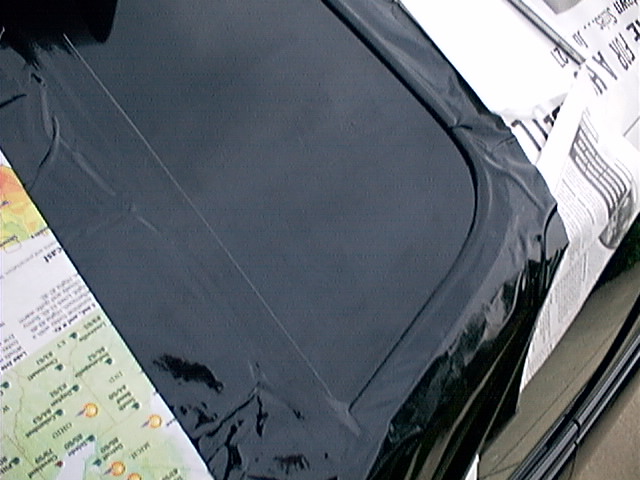
Once the sticker was in place, I used a razor knife to trim around the edges.
I cut through the decal, right along the edge where it meets up with the masking tape. Then, I was able to peel away the tape, taking the undesired portions of the decal with it. The rest of the decal was left behind on the windshield.
Click to embiggen
Results
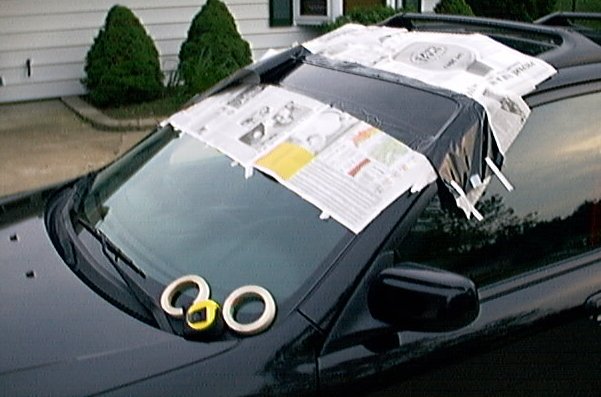
So here's what the decal looks like from the outside. Some of the masking tape is still visible.
Click to embiggen
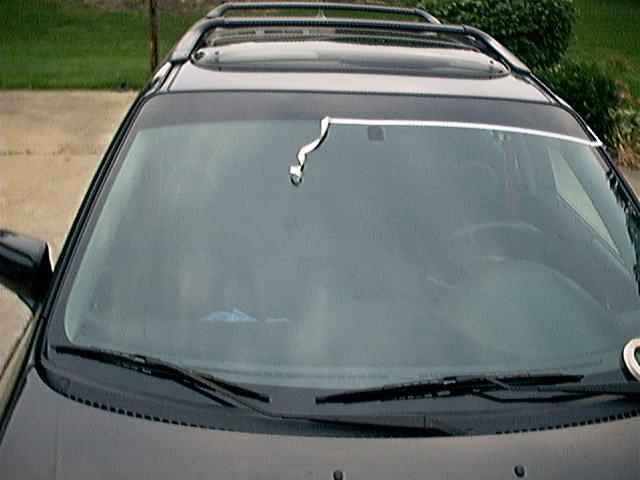
And here's what it looks like from the inside.

Click to embiggen

