Plugs and Distributor
1993 Protegé DX Spark Plug, Distributor, and Wire Replacement
This is Page 4 of 4
This is not a HOWTO guide. It is a HOWI guide. In other words, it's not how to replace your plugs, distributor, and wires. It's how I installed mine.
Disclaimer: Although this page includes a certain amount of advice, it is not intended to supplant manufacturer's instructions or actual mechanical expertise. If you have problems, you should consult an automotive professional, not my Web page. Please don't rely on this narrative in place of a qualified mechanic!
The procedure shown here is specific to a 1993 Mazda Protegé DX (SOHC). If you have some other kind of car, the procedure will be different, but probably not too different, especially if you've got an in-line 4 cylinder engine.
Putting the new stuff on
Putting the new parts on basically consists of reversing the process: put in the new plugs, snap on the rotor, screw on the distributor cap, attach the wires (in the right order!), and put the air intake back together.
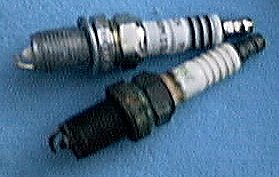
The first thing I did was examine the old plugs and marvel at how dirty they were. Actually, these aren't too bad, but they're in much worse condition than the new ones.
Bosch's Web site has a page that shows various types of "fouled" plugs and explains the causes of each type of problem.
Click to embiggen
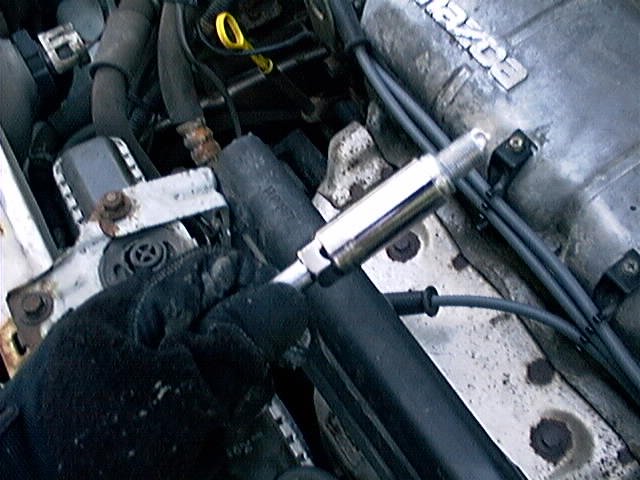
Next, I screwed in the new plugs by seating the new plug in the spark plug socket, then starting it by hand. This helps prevent cross-threading of the plug in the block.
Click to embiggen
Click to embiggen
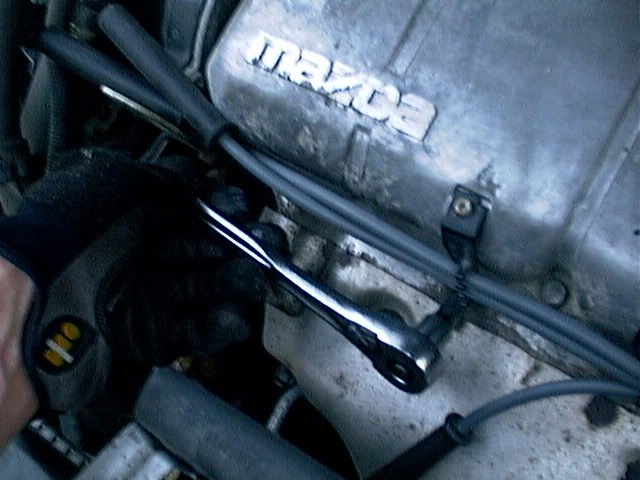
Once the plug is started, it can be tightened with the wrench.
Click to embiggen
The right thing to do is use a torque wrench to tighten the plugs to the correct torque spec, which is 11 - 17 pound-feet (15-23 N-m). The easier thing to do is to tighten the plugs until a little resistance is felt.
Overtightening can result in a cracked plug, which nobody wants. Undertightening can result in combustion gasses leaking past the plug's threads and causing problems, and that's not the best.
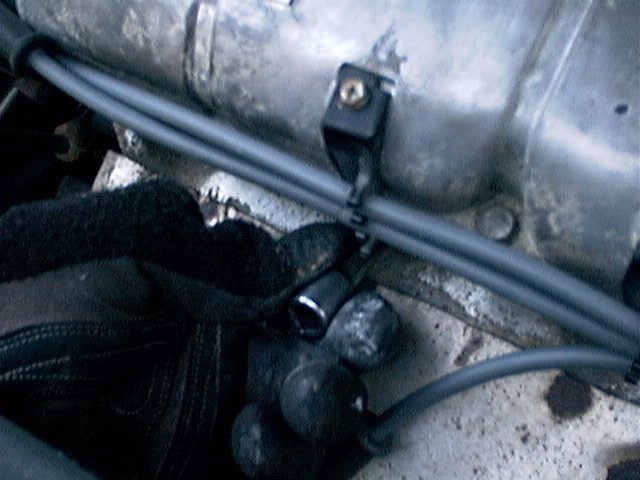
The rest of the job is pretty simple.
I snapped the new rotor in place, just the way the old one came off. Remember to install the new one in the same orientation as the old one was in.
I screwed on distributor cap and ran the spark plug wires from the terminals on the cap to the corresponding spark plug. Last, I attached the power wire.
After that, it's just a matter of putting the intake back together and going for a test drive.

